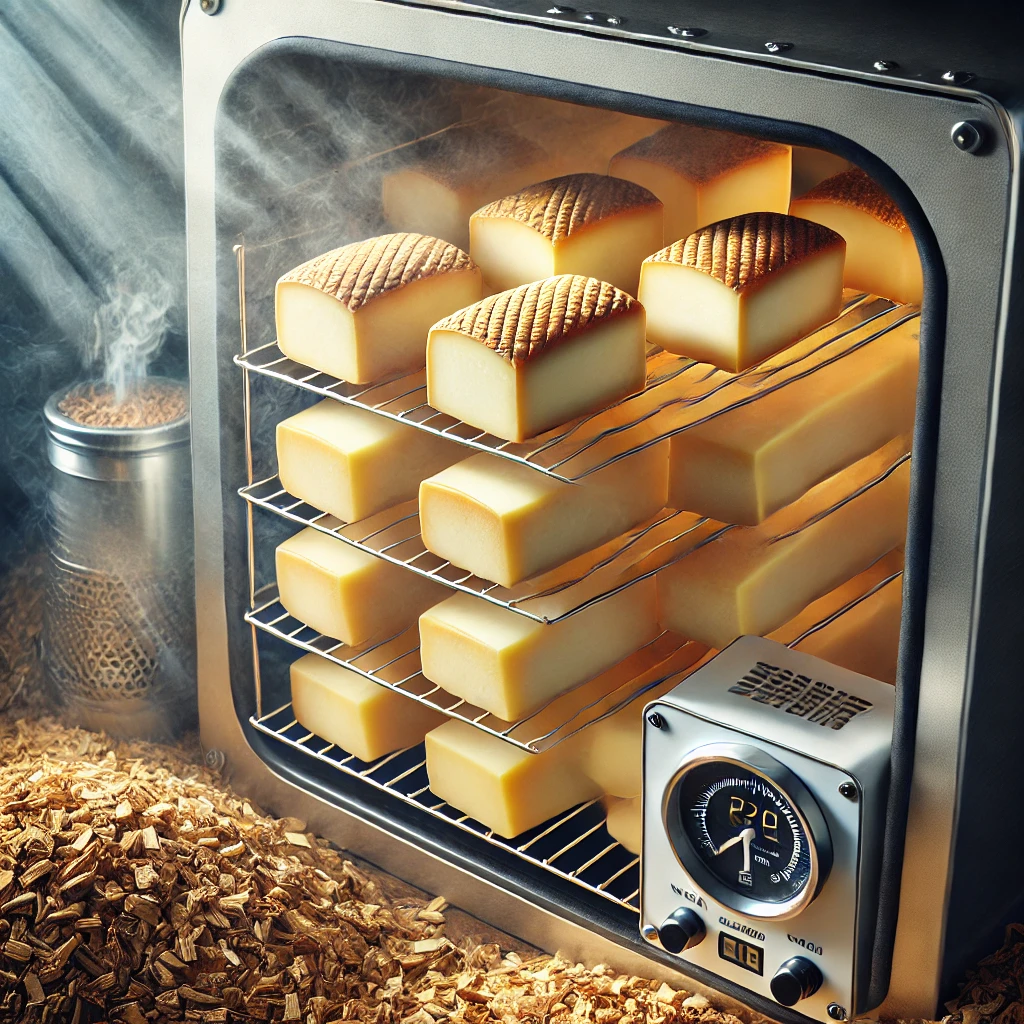
Cold smoking might sound a bit mysterious at first, but trust me, it’s all about technique and patience. It’s a method where food is smoked at temperatures typically below 90°F. Unlike hot smoking, here the aim isn’t to cook the food, it’s to enhance flavors and, in some cases, preserve the goods.
This method has roots spread across many cultures, from the early Norse using smoke to preserve fish in the icy North to American pioneers keeping meat safe for winter months. Each region added its twist to the technique, creating a tapestry of flavors all unified under the banner of smoke.
So, why are more and more home cooks turning their smokes into reality? It’s not just about the unique taste; it’s about the whole experience. You become a part of a historical tradition, flexing a culinary art that wowed even our ancestors. Plus, you get to play with flavors—experiment with different woods and foods to create something truly your own.
The Science of Smoke: Exploring Chemical Reactions
When it comes to cold smoking, it’s a bit like magic meets science. There’s a lot more happening right under the surface. First off, when smoke meets your food, there’s an intricate dance of chemical reactions that start to unfold. Certain compounds in the smoke like phenols and carbonyls interact with the food, enhancing flavors and colors in ways you might not even notice at first bite.
Temperature is crucial in cold smoking, staying below 90°F avoids cooking the food but still allows for the infusion of those rich, smoky notes. This slow mingling of smoke with surface fats and proteins not only flavors but helps preserve the food by developing a kind of shield against bacteria.
Speaking of nutrition, ever wonder if all this makes foods healthier or less so? The process can impact nutrient content to some extent. For instance, smoking can reduce moisture and introduce antimicrobial compounds, offering some preservation benefits. However, always balance these potential benefits with a healthy diet, as smoked foods can sometimes be higher in sodium. It’s all about moderation and flavor adventure.
Equipment and Materials: Essentials for Cold Smoking at Home
Getting started with cold smoking at home requires the right gear, but don’t sweat it—it’s easier than it sounds. At the heart of it, you’ll need a smoker. Now, this could be as simple as a DIY setup from an existing grill, or something a bit more advanced like a dedicated cold smoker. It all depends on how deep you wanna go into the smoky abyss.
Choosing the right wood is another game-changer. Different types of wood chips like apple, hickory, or cherry offer various flavor profiles. You kinda become an artist here, layering the smokiness just right for that unique touch. Each type of wood burns differently, impacting smoke output, so experiment to see what tickles your taste buds best.
Safety isn’t just a suggestion, it’s a must. When setting up your equipment, always ensure proper ventilation and never leave it unattended. This means using appropriate materials that can withstand smoke and heat, without releasing harmful chemicals.
Cold smoking requires paying attention to details and being patient. Keep your temperature low, manage your smoke levels, and you’ll be rewarded with that perfect smoky taste journey.
Cold Smoking Techniques: Step-by-Step Guide
Ready to get hands-on? Cold smoking might take a little time and patience, but the steps are straightforward once you’ve got the hang of it. First off, prepping your food is key—you want it ready to soak up all that smoky goodness. Foods like fish, certain cheeses, and meats are classic choices, but don’t let that stop you from getting creative with veggies or even nuts!
The next step is all about your smoking environment. Maintaining an ideal temperature and humidity level is crucial. Get yourself a good thermometer to keep things in check. Temperatures should linger below 90°F. Pay attention to humidity; too much and you risk bacteria, too little and the flavor won’t quite pop like it should.
Here’s a tip: try using ice pans to control temperature if it gets tricky—really helps on warmer days!
Once everything’s set up, it’s time to let the smoke work its magic. Start with smaller durations, about 2-4 hours, and test your flavors. Sometimes foods benefit from ‘resting’ after being smoked as flavors continue to develop. Don’t be afraid to sample during the process.
Experimentation is your best friend in cold smoking. You’ll learn what works best for you and your taste. From trying new wood-chip combinations to modifying your smoker design, every tweak can bring you closer to your perfect smoked masterpiece.
Addressing Health Concerns and Ensuring Safety
Cold smoking is a flavorful adventure, but safety must always come first. Being aware of potential health risks is crucial since improper smoked foods can pose a threat to your health.
Start by selecting high-quality, fresh ingredients. This minimizes the risk of introducing harmful bacteria from the get-go. Always keep your food at safe temperatures before and after smoking, using refrigeration as needed.
During the smoking process, consistent monitoring is key. The main trick is keeping that temperature low enough to avoid cooking but safe enough to keep bacteria at bay. If you’re smoking meat, some might benefit from a pre-salt or brine treatment to add an extra layer of safety and flavor.
Once smoking’s done, consider storage. Since cold-smoked foods are typically not fully cooked, proper storage and handling are essential to keep them safe for consumption. Vacuum sealing is fantastic for extending shelf-life and maintaining freshness.
Understanding food safety standards and certifications can also give you peace of mind and help ensure that what you’re serving is safe and delicious. Regularly checking resources and guidelines from food safety authorities can keep you updated with best practices.
